
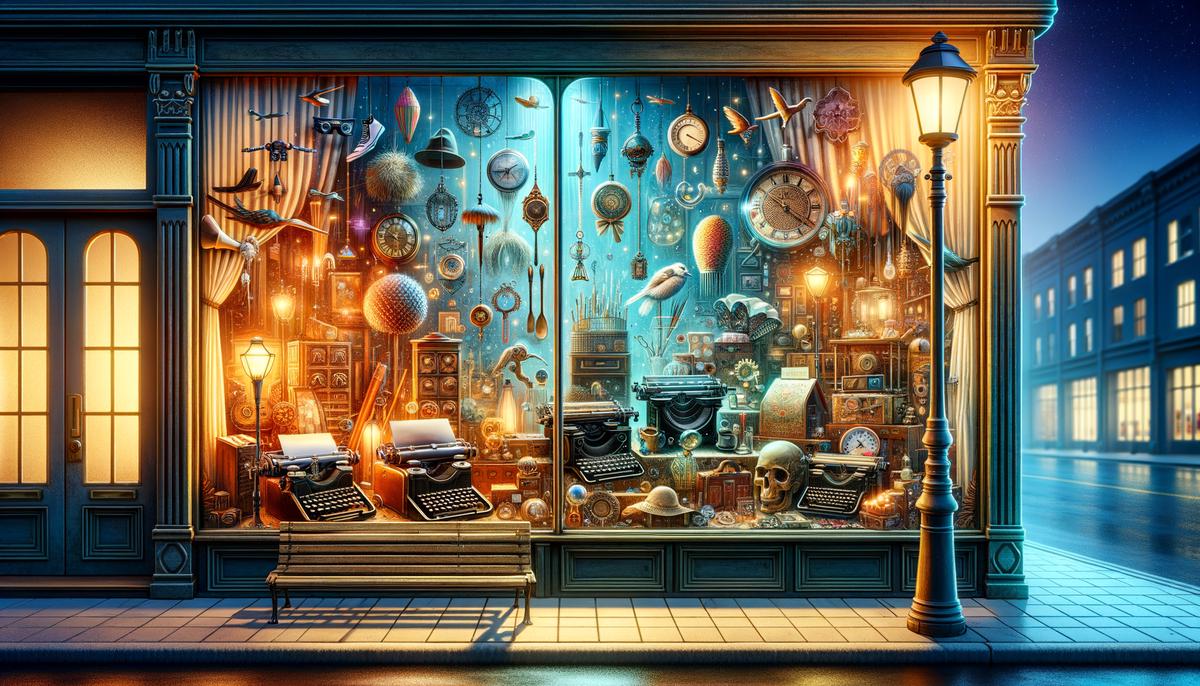
Ever dreamt about opening your own online shop? A place where your crafts are the stars, and shoppers can’t resist adding item after item to their carts? Picture your very own virtual storefront—a digital shop that reflects your passion and personality. It’s like giving the world a peek into your imaginative brain! We’re diving into a world where clicking ‘add to cart’ is as sweet as biting into a perfectly baked cookie. So, let’s get ready to roll out the digital red carpet and sweep customers off their feet with an e-commerce platform that’s dressed to impress!
Creating an Online Storefront
Setting Up Your Etsy Shop to Charm and Engage
Alright, pals, let’s dive into making your Etsy shop a total standout—the kind that makes shoppers click ‘Add to Cart’ faster than you can say “handmade wonders”! Whether you’re slinging sparkle-tastic jewelry or cozy knitted scarves, your shop’s gotta have pizzazz and personality. Here’s the lowdown on setting up your Etsy shop to max out the charm and engagement factor!
Step 1: Snappy Shop Name and Logo
First things first, you need a name that’s catchy as all get-out. Something snappy, memorable, and a little bit quirky. Once you’ve got that golden ticket of a name, pair it with a logo that’s the cherry on top—bright, bold, and saying “YOU” all over it. It’s like putting a bow on your brand. Bam!
Step 2: About Page with Personality
People love to know who’s behind those nifty crafts. So, hit up your About page and let your personality shine like a disco ball! Share your story, your inspirations, and even sneak in some fun facts. Got a pet? Show ’em off! Your About page should feel like a friendly chat over coffee.
Step 3: Stellar Shop Banner
Slap a shop banner up there that’s a real eye-catcher—think of it as your storefront window. Use colors and images related to your vibe and what you’re selling. This banner’s your silent salesperson, make it count!
Step 4: Dazzling Listings
Time to put your products in the spotlight—with photos that make them look irresistible. Clear, well-lit, and from various angles, these snaps should make people feel like they could reach out and touch your goodies. And your descriptions? Keep ’em lively, detailed, and drool-worthy—like explaining a secret recipe!
Step 5: Policies, Clear as Crystal
No one likes confusion, so serve up your shop policies clearer than a spring day. Lay out shipping, returns, and any custom order deets. This isn’t just fine print; it’s your promise of peachy-keen service.
Step 6: Chat It Up
Etsy convo is your new BFF. Reply to messages quickly, be as charming as a 1950s movie star, and always be ready to help. This builds trust and gets those five-star reviews rolling in.
Step 7: Social Butterfly Moves
Spread the word like you’re the town crier of Craftsville. Social media is your megaphone—so snap behind-the-scenes pics, share updates, and maybe even toss in a cat video for good measure. Get folks buzzing and watch ’em flock to your shop.
Step 8: Seal It with a Personal Touch
Lastly, add that extra sprinkle of magic to each order before it flies out your door. A handwritten note, a cute sticker, or a little freebie—a tiny gesture can turn a buyer into your number one fan.
And voilà, you’ve got an Etsy shop that’s hook, line, and sinker ready to charm socks off and engage like a warm hug. Now get out there and show ’em what you’re made of, you crafty genius, you! Enjoy every moment of your Etsy adventure!
Crafting SEO-Driven Product Descriptions
Step 9: Nailing the Keywords
Alright, picture this: The lights of the internet stage hit your product, and boom—the crowd goes wild. That’s what the right keywords can do. They’re the secret sauce, the cherry on top, your VIP ticket to the show. So, let’s find those show-stopping words.
Start with the star of the show—your product. Think like your customer. What words would you type into a search engine to find your fabulous creation? Jot those down. Now, don’t just go with the obvious. Dive deep! Use tools like Google’s Keyword Planner for a brainstorm sesh to uncover those hidden gem words that are specific and relevant. Sprinkle these keywords throughout your descriptions, but don’t overdo it. You want to keep it natural, like you’re talking to a friend.
Step 10: Features are Your Friends
List ’em out—every fantastic feature that makes your product the best thing since sliced bread. Is it handmade? Say it! Is it vintage? Shout it from the rooftops! Use bullet points if that’s your jam, keeping it skimmable. People are busy, so make every second count.
Highlight the benefits, too, because that’s what really gets hearts racing. Does your handmade wallet make organizing cash a breeze? Spell it out! Connect the dots between the features and how they make life oh-so-much better.
Step 11: Storytime Sells
Now, weave in a story. Transport them! How will this item slip into their lives and sprinkle magic on the mundane? A picture might be worth a thousand words, but in the land of SEO, words are your trusty steed. So saddle up and paint a picture with storytelling that captivates the heart and imagination.
Step 12: The Call to Action Finale
You’ve wowed them with words, dazzled with details, now it’s closing time. Seal the deal with a killer call to action. Keep it snappy, like “Snap this up before it vanishes!” or “Join the style revolution; add to cart now!” Direct, dynamic, and oh so clickable.
There you have it—your recipe for SEO-savvy product descriptions. A sprinkle of keywords, a dash of features, a good dollop of benefits, served with a side of storytelling, and a call to action that’s as tempting as a slice of cheesecake. Give it a go and watch your products shine like the stars they are! Enjoy the spotlight, it’s your time to shine.

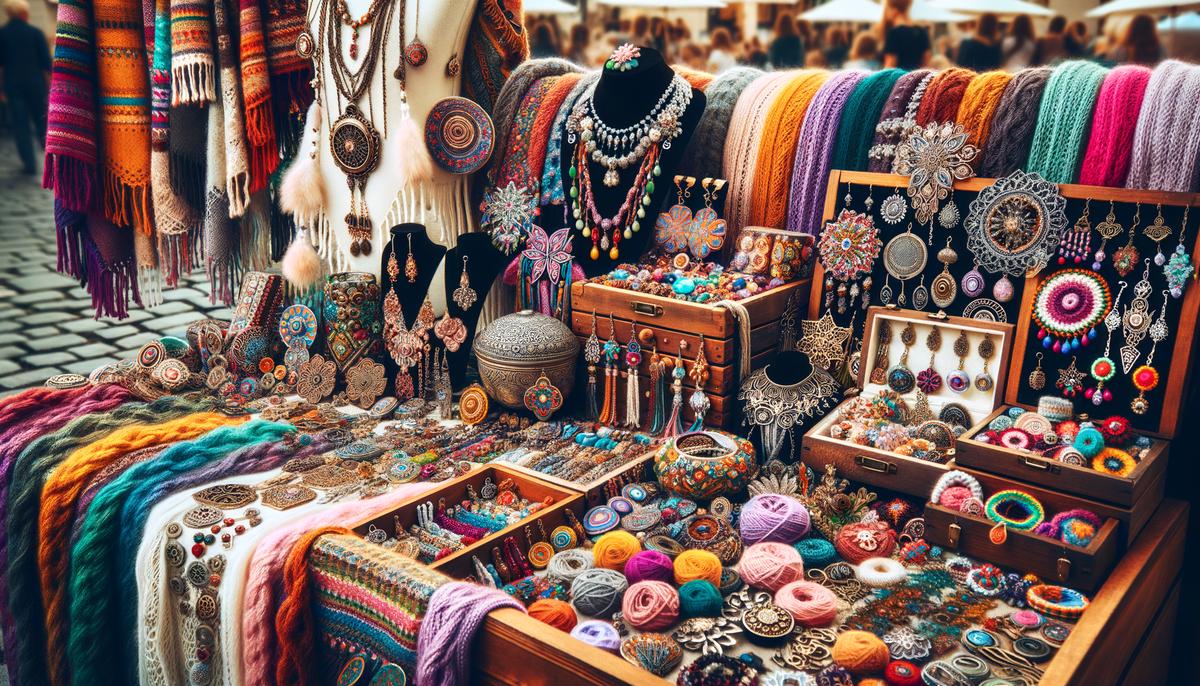
Photographing Your Crafts
Alright, crafty creators, buckle up; we’re diving into the riveting realm of photography that makes your crafts scream “buy me” without uttering a single word! Picture this: each craft you’ve lovingly labored over is a silent movie star, ready for their close-up, and it’s your job to make them shine. Let’s click our way through some photo tips that’ll give your crafts the limelight they deserve!
Step 9: Lighting Like a Pro
Forget the pricey gear; natural light is your new BFF. Snap those pics on a bright day by a window, but never in direct sunlight—hello, harsh shadows and unwanted glare! You want that soft, diffused light that whispers sweet nothings to your crafts. If the sun’s playing hide and seek, a white curtain can be a gamechanger, softening the moody light like a pro.
Step 10: The Set-Up Showdown
Get yourself a clean, non-distracting background. Think solid colors: white, light grey, or pastels for that Pinterest-worthy look. Steer clear of your messy kitchen counter or that old, stained tablecloth; we’re after a canvas that lets your craft pop. Just a large sheet of construction paper, or poster board, can be your runway for a high fashion craft shoot.
Step 11: Compose with Pizazz
Center stage or off to the side with a hint of attitude? Composition is key! Follow the “rule of thirds” by imagining a tic-tac-toe grid and placing your craft along the lines or where they meet. It’s like giving your craft a secret map to the spotlight.
Step 12: Angle Adventures
Don’t just go straight on—explore! High angles, side shots, and even a worm’s-eye view (for the daredevils). Different angles give a full-circle tour of your craft’s best features. But remember, while you’re on this photographic safari, keep a steady hand or use a tripod; we want crisp shots, not blurry memories.
Step 13: Detail Detective
Zoom in on the intricate details that make your craft a rare gem. Textures, patterns, the glint of a bead, or the swoop of a stitch—these little love letters you’ve woven into your work deserve their own snapshot. It’s all about the details that make customers feel like they’re holding your craft before they’ve even clicked ‘Add to Cart’.
Step 14: Prop It Like It’s Hot
Props are the supporting actors to your star craft. Use items that complement without stealing the show. A wood slice to ground your ceramic mug, a sprig of lavender by your hand-embossed journal—props echo your craft’s vibe and function without causing a scene.
Step 15: Tell A Color Story
Colors can sing, shout, or serenade. Choose a palette that tells the same story as your craft. If it’s all about ocean vibes, play with blues and sandy hues. For a vintage feel, sepia tones and warm shades can help narrate your photo novel. Make sure the colors hold hands harmoniously.
Now, with these pointers snug in your toolkit, go forth and snap photos that transform viewers into shoppers, watchers into buyers. And hey, practice makes perfect; so ride the learning curve with excitement. Your crafts are the stars; you’re just the director with a vision, making every picture… Click, wink, and sparkle! 🌟 Happy clicking!

Now, didn’t we just whisk together a scrumptious batch of e-commerce smarts? With your storefront looking snazzy, those SEO-driven product descriptions ready to woo search engines, and photos that make every viewer feel like they’re staring at a sunset and not just a screen, you’ve got all the essentials to turn that ‘Open for Business’ sign into a neon light! Remember, the secret ingredient in any craft is the love you sprinkle over it, and believe me, customers can tell. So, snap those pics, write those descriptions, and fluff up your shop—your craft deserves the limelight, and it’s showtime!